

Create a menu item for Projects in OutSite
You add the Projects menu item to the site. On this portal page, you automatically have the data for Projects.
To add a Projects menu item:
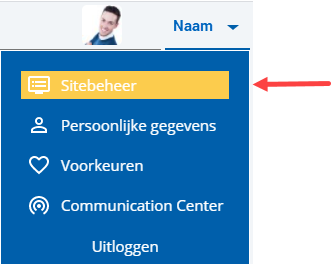
 Log on and start Site management.
- Click on: New.
You do this at the position where you want to add a menu item.
- Enter the description.
In this example Projecten.
- Select Refer to existing page.
- Click on: Next.
- Select the Project portal page in Page.
- Click on: Add.
- Click on: Menu in the Site frame.

- Click on: New after the Projecten menu.
- Enter Mijn projecten as the description.
- Select the Refer to existing page action.
- Click on: Next.
- Select the Mijn projecten overview for Page.
- Click on: Add.
- Open the properties of the Mijn projecten menu item.
- Deselect the Show in menu check box.
- Click on: Modify.
- Click on: New after the Projecten menu.
- Enter Alle projecten as the description.
- Select the Refer to existing page action.
- Click on: Next.
- Select the Projecten overview for Page.
- Click on: Add.
- Open the properties of the Alle projecten menu item.
- Deselect the Show in menu check box.
- Click on: Modify.
- Close the menu.
|
Directly to
|