

Configure a general custom file for InSite and/or OutSite
Data that has been recorded in a custom file, can be displayed in InSite, where you can also add, change and delete data. Using OutSite, you can only view custom files.
To activate a general custom file:
- Go to:General / Environment / Management / Properties.
- Go to the tab: Custom files.
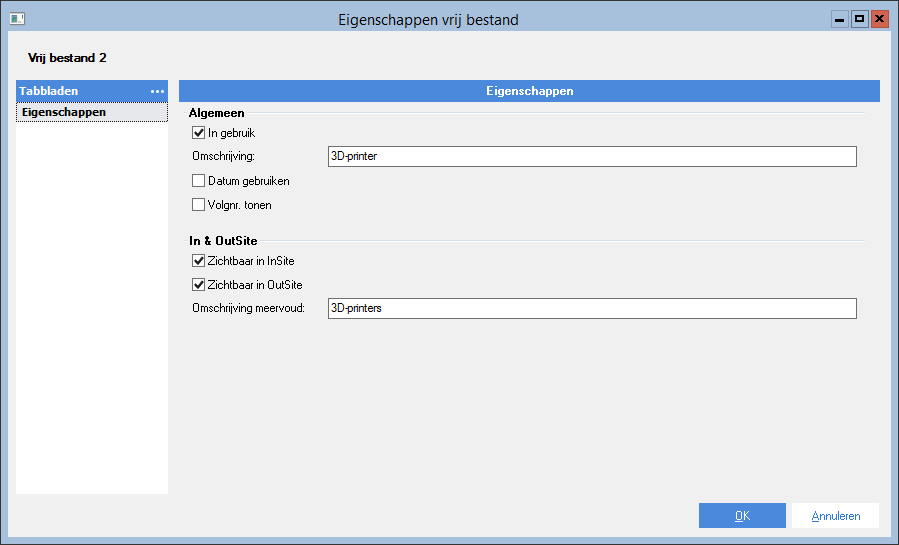
- Open the properties of the custom file that you want to start using.
- Select the In use check box.
- Enter the description.
- Select the Use date check box if you want to use the default date field of the custom file.
- Select the Show seq. no. check box if you want to see the default sequence number for the records in the file.
- Select the Visible in InSite and/or Visible in OutSite check boxes.
- Click on: OK.
- Click on: OK. Give permission to reopen the environment.
To add fields:
- Go to: General / Management / Management tool.
- Open the Custom files heading.
- Select the custom file.
- Add the required fields on the Fields tab.
- Go to the tab:Tabs: InSite / Tabs: OutSite.
The custom file can only be made visible on an InSite or OutSite site if you add a tab to one of these tabs.
- Click on: New.
- Enter the description.
- Add the fields to the tab.
- Close the Management tool. Give permission to reopen the environment.
Authorisation:
During this process the following data is created:
- Page type
Page type with the description of the custom file. The page type is automatically selected (activated) in the site properties.
- Functionality
For InSite: '[custom file name] + View' and '[custom file name] + Manage'.
For OutSite: '[custom file name] + View'.
Example:
The custom table is called ‘3D Printer’. If you use the table in InSite and OutSite, the following functionalities are created:
- InSite: ‘view 3D Printer' and ‘manage 3D Printer'.
- OutSite: ‘view 3D Printer'.
Authorise the new pages by linking pages to the correct functionalities, or by linking new functionalities to the correct roles.
Add the pages to the InSite and/or OutSite site.
|
Directly to
|