

Record a style for your own buttons
Each theme has its own buttons. The theme only contains the graphical elements of buttons (colour, shape, edges, image). When you place the button on the page you add the button text. When you do, the width of the button is automatically adjusted.
You can apply buttons in your site as follows:
- Own buttons
You can include your own buttons on a page, for example a portal page. In the CMS editor, you can also include a button within text.
- Default button
The default button settings include the settings for all default buttons, such as Cancel, Modify, etc.
The default button settings also apply to the Search button on the site. You can, however, link another button to the theme, so the Search button looks different from the default buttons.
To record buttons:
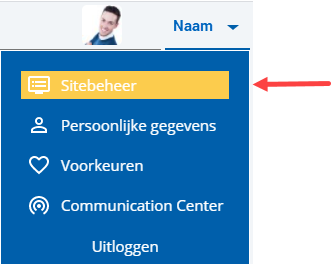
 Log on and start Site management.
- Click on: Themes.
- Select the theme.
You can now immediately edit the theme.
- Click on: Buttons (in the Parts frame).

- Click on a button.
- Enter the description. This is for internal use only. When you actually place a button on the site, you determine the text on the button.
- Record the layout. You can only select a theme colour. If you change the theme colours, the colours of the linked buttons also change.
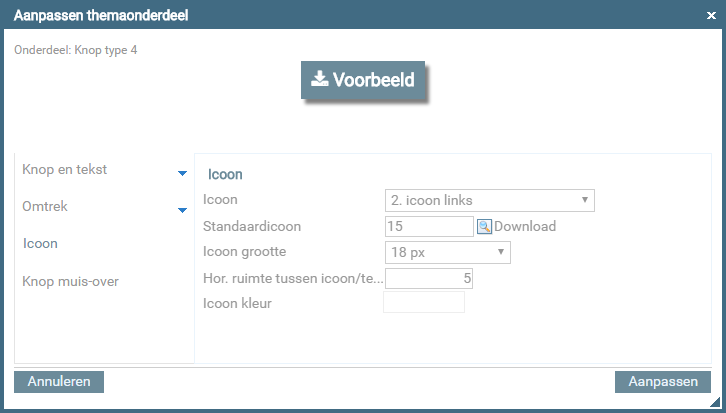
- Go to the tab: Icon.
- Select the image you want to use and determine whether the image should be displayed to the left or the right of the text.
- Click on: Modify.
- Publish the theme.
See also:
- Position of the Search button on the site
- Add your own button using the CMS Editor
- Add your own button to a portal page
|
Directly to |