

Replace fields in a new build
After installing the new Version or Build of Profit, you may have to update the report layouts. If that is required, you will see a message on your screen. Changes to the structure can result in reports containing fields no longer present in the Profit database. The relevant data are still present, but has been moved to other fields or tables.
In these situations, Profit notifies you that the relevant fields in the data collection have been replaced by temporary fields. This means that in the data collection and on the report the original field (that refers to the Profit database) has been replaced by a 'dummy'. This renders the report unusable, but Profit will always tell you which fields are causing the issue. If this message appears for one of your own reports, you open the report layout and make sure to once again include the correct fields in the data collection and the layout.
To replace fields in a new build:
- Go to: General / Output / Management / Report.
- Open the report:.
Profit notifies you that you have to re-assign some fields.
Example:
You see the following message:
The data collection Invoices (Report) has been corrected automatically.
The following fields could no longer be deducted and are replaced by a temporary field:
'Contact'
'Number'
- Click on: Modify (in the Data fields box).
- The above message appears again. Close the message.
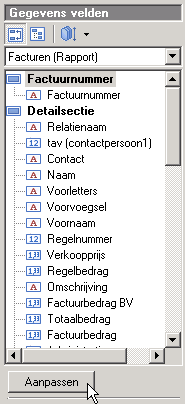
- In the data collection a temporary field is indicated by a green field name. The table name is (temporary field).
Note:
You must replace all temporary fields by one of the available fields. After that, the report can be used again.
- To replace a temporary field by an available filed, proceed as follows:
- Select the temporary field.
- Find the field you want to use in the Available fields: list.
- Click on:
 .
.
Profit now replaces the temporary field. The field (Contact in the above example) retains its old name, but now is once again a valid field. Because of this replacement action, you do not have to make any further adjustments, as the old field is still in the report layout.
- In the same way, replace all temporary fields.
- Click on Next several times and then click on Finish to complete the wizard.
- Test to see if the report works.