

Add a view
Add a new view with a wizard. You can add fields and determine the presentation and sequence of the fields.
A new view is visible to all users unless you authorise the view correctly.
To add a view:
- Go to: the function.
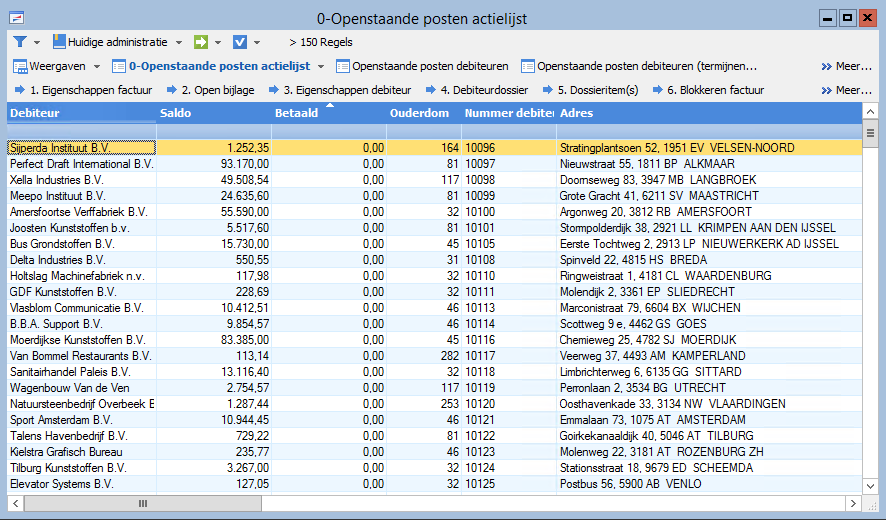
You can add views to nearly every function. The images in the below procedure are based on adding a view with outstanding items of debtors.
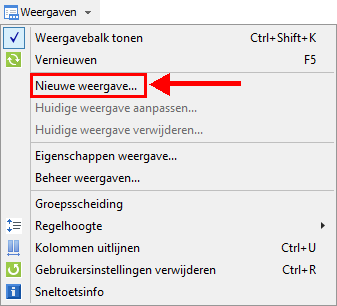
- Add a view:
- Display the Views toolbar using Ctrl+Shift+K if it is not visible.
- Go to: Views /New view....
- Determine if you want to base the new view on an existing view or on a data collection. It is often easiest to use an existing view as a basis.
- Select the view or the data collection.

- Click on: Next.
- Click on: Next.
To add fields to the view:
You place extra fields in the view. Move the fields from the Available fields: box to Fields in query:.
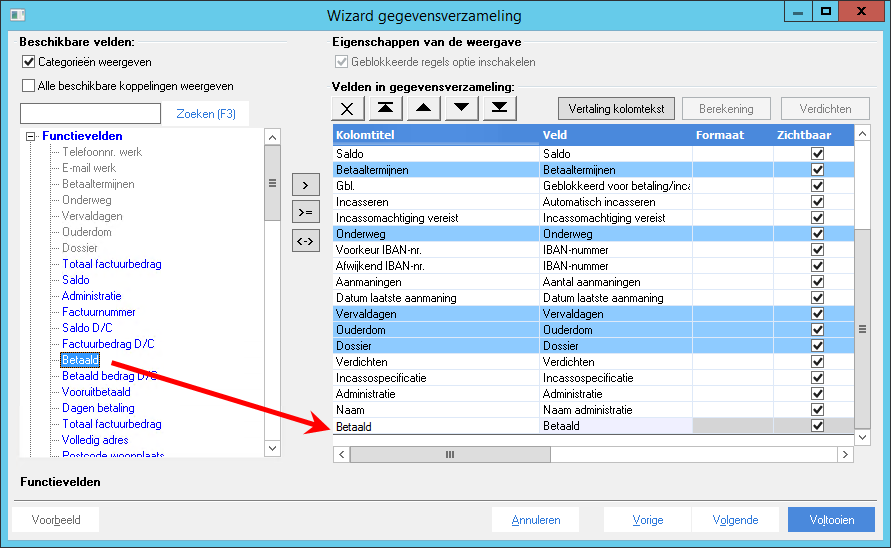
- You can modify the column titles. Preferably use short titles to ensure a clear overview.
- Use the buttons above the field list to move fields.
- Click on: Next.
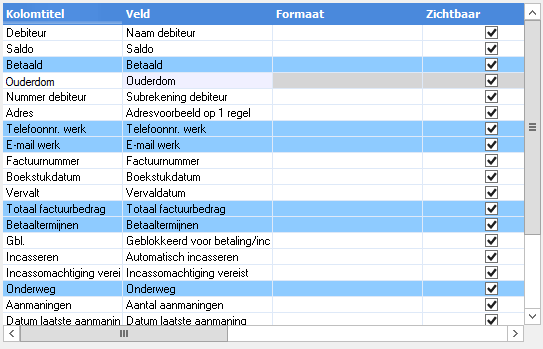
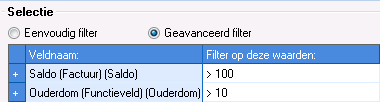
To set a filter:
If required, specify a filter. Use the filter in the below example to display only outstanding items that exceed a particular threshold amount and are of a certain minimal age.
- Click on: Finish.
|
Directly to |