

View logistics integration using article group
Per article group, you can view which ledger accounts are linked, which articles and assembled items are contained in the article group and what minimum and maximum margins apply.
View the article group:
- Go to: Order Management / Item / Grouping / Article group.
- Open the properties of the article group..
- Go to the tab: General.
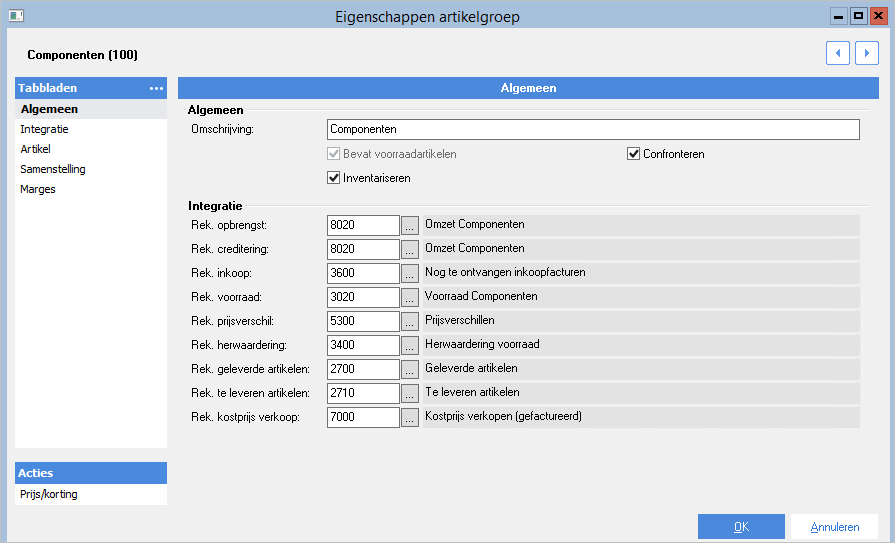
Under the 'Integration' header you see that for every type of cash flow Ledger accounts from Profit Financieel are linked.
- Go to the tab: Integration.

You see that more ledger accounts are linked here. Which ledger accounts you can and/or should link, depends on the Journalise stock and Reconciliation activations. Moreover, this is important if you hold stock or use advance payments or payment by instalments, etc.
- Go to the tab:Integration VAT duty.
This tab is only visible if you have enabled splitting by VAT duty in the Logistics settings. Here you see the ledger accounts which are linked for the distribution of the revenue per VAT duty (for example, so that you can compare domestic revenue with revenue from abroad).
- Go to the tab:Article.
Here you see all articles that are a part of the article group. You can also add and view articles here.
- Go to the tab:Assembled item.
Here you see the assembled items that are a part of the article group. You cannot add and view assembled items here but you can via the menu.
- Go to the tab:Margins.
Here you see the maximum discount percentages and minimum margin percentages that can be granted/must be achieved for all articles and assembled items in this article group.
- Click on the action:Price/discount if you want to add or change a discount for all articles and assembled items within this article group. Profit displays a message if the discount exceeds the maximum discount percentage on the Margins tab.
- Click on: OK.
|
Directly to
|