

Group in horizontal tabs
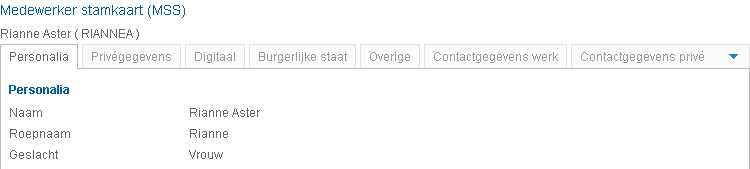
You can group the parts of a page in horizontal tabs.
This looks as follows:
To group in horizontal tabs:
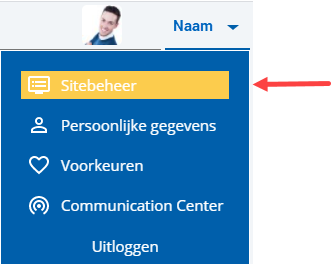
 Log on and start Site management.
- Open the page whose parts you want to group.
- Click on: Edit (in the Page frame).
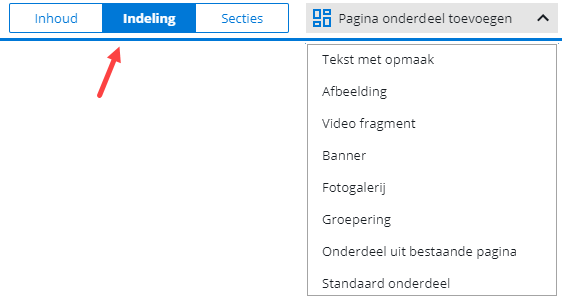
- Click on: Layout in the Display frame.
- Click on: New.
- Select Grouping.
- If applicable, enter a title.
- Select the Show component frame and title check box if you want to display this data.
- If you select this check box, a line is displayed around the grouping and the title of the grouping is displayed.
- Select the presentation style Tabs (horizontal).
- Select the Animation check box if you want to have a nice transition when switching between tabs.
- If necessary, specify the height of the grouping.
- if you do not want the grouping to be positioned close to the text, enter the Margins.
- Click on: Create.
An empty grouping has been added to the page.
- Double-click on the grouping.
- Drag the grouping to the place where you want to display it.
- Select a part you want to add to the grouping.
- Drag the part to the grouping, until you see a green dotted line in the contents of the grouping.
- Drop the part; it has now been added to the grouping.
- Repeat this for all the parts you want to add to the grouping.
- Click on: Publish.
- Click on Yes in the message.
|
Directly to |