

Group in vertical tabs
You can group the parts of a page in vertical tabs.
This may look as follows:
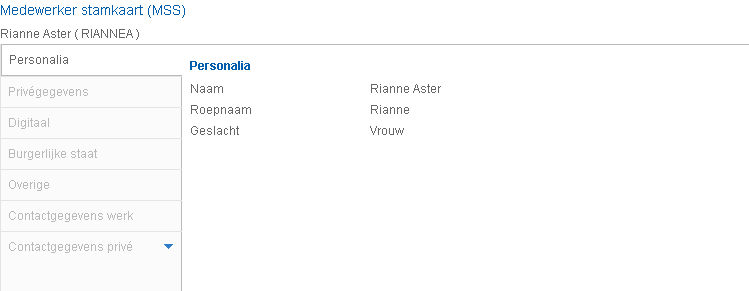
To group parts in vertical tabs:
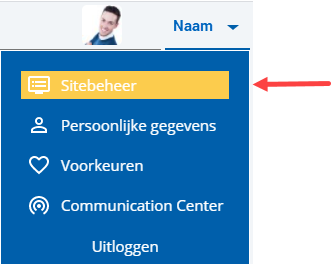
 Log on and start Site management.
- Open the page whose parts you want to group.
- Click on: Edit (in the Page frame).
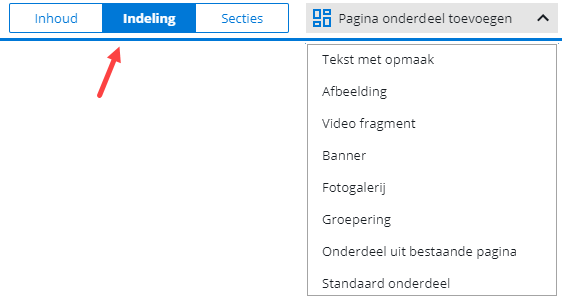
- Click on: Layout in the Display frame.
- Click on: New.
- Select Grouping.
- If applicable, enter a title.
- Select the Show component frame and title check box if you want to display this data.
If you select this check box, a line is displayed around the grouping and the title of the grouping is displayed.
- Select the presentation style Tabs (vertical).
- Select the Animation check box if you want to have a nice transition when switching between tabs.
- Select the style of the button in Vertical tab button style.
- If necessary, specify the height of the grouping.
- Fixed height: you enter the height of the banner yourself in pixels. If an item does not fit in this fixed height, it is not displayed. If nothing is displayed, then change the fixed height. If you use less space than the specified height, the remaining space is filled with white space. This allows you to display multiple items next to each other which are not of the same height.
- Full content: here you specify that you want to display all the items that are available from the source. The height is determined on the basis of the items so that all items will fit.
- Justify: the height is determined by the available space in the column. You can only choose this for banners you include independently in a page. For banners in a custom layout, you cannot choose this option because it is not possible to determine the available space. A banner that has been set to Justify, uses all the available space in the column. The height of the column is determined by other parts that appear in the same line. This is useful, for example if the banner is placed on a line with other columns that have parts with a variable height. The height of the banner is then determined by the other part.
- Wrap text: if the text of the banner is too wide, then with this option the text continues on the next line. You can only select this option for the presentation style 'List (below each other)'. With any of the other options, if a text does not fit it is simply truncated.
- if you do not want the grouping to be positioned close to the text, fill in the Margins.
- Click on: Create.
An empty grouping has been added to the page.
- Double-click on the grouping.
- Drag the grouping to the place where you want to display it.
- Select a part you want to add to the grouping.
- Drag the part to the grouping, until you see a green dotted line in the contents of the grouping.
- Drop the part; it has now been added to the grouping.
- Repeat this for all the parts you want to add to the grouping.
- Click on: Publish.
- Click on Yes in the message.
|
Directly to |