

Specific registration and confirmation page per course
You can create a specific registration page for a course. Using such a page, you record the data and layout you want to show in InSite and/or OutSite for the selected course. This information is shown when a participant registers for a course event. The same applies to the confirmation page. After completing a registration, the participant is redirected to the confirmation page. You can also record specific information to be shown on the confirmation page, like the route guidance, specific details, etc.
If you want to create a specific page for a course, you first add a profile of the Registration of participant type. You then link this profile to the course. Finally, you log on as site administrator on InSite and/or OutSite and edit the registration page.
When you add a profile, new pages are generated for the course registration and the course confirmation. These new pages are generated on the basis of the default templates:
- Register
- Confirmation
No profile
If you do not select a profile, the participant sees the default registration page.
Add a Registration of participant profile:
- Go to: General / In & OutSite / Profile.
- Click on: New.
- Enter a description in Name. For example, enter the course name.
- In Profile, select Registration of participant.
- Click on: Finish.
Add context to the profile:
By using contexts, you can specify which fields are displayed, which fields are mandatory, etc. Adding a context is not mandatory. If for a certain course you always want to know whether dietary restrictions apply for somebody, you make the relevant field Mandatory. For an event that never includes a lunch, you set this field to Not displayed. All of this can be set up in the context.
- Open the properties of the profile.
- Click on: Maintain after Register OutSite.
You can now use the Management Tool to add the context.
- Click on: New.
- Enter the description.
- Click on: Finish.
- You can now adjust the field settings of the profile.
More information:
- When you have set all fields, close the Management Tool.
- Select the correct context in Register OutSite.
- Click on: OK.
- You can now link the profile to a course.
 Change the field settings of a profile
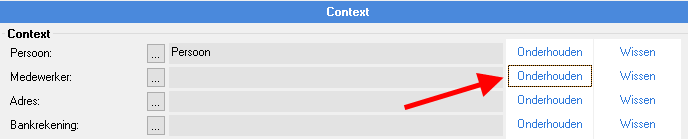
|
Directly to
|