

Add an image to the media gallery
There are various ways to add an image to the media gallery. In any part of InSite and OutSite where you add an image, you can immediately add the image to the media gallery. By adding the image to the media gallery, you make it easy to reuse the image anywhere else.
To add an image to the media gallery:
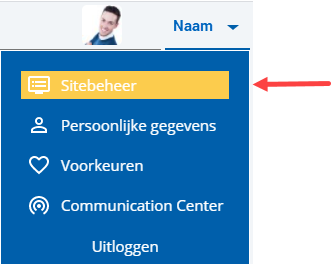
 Log on and start Site management.
- Click on: Media gallery.
- Click on: New.
- Click on:Browse....
- Select the image.
- If required, enter a comment.
The Media gallery check box is automatically selected.
- Enter the description.
- If necessary, select the category you want to use to save the image. This is not mandatory, but will make it easier to find the image.
- Click on: Create.
You can now immediately add more images.
If an image is larger than 1000 x 1000 or only higher or wider than 1000, the setting Use original image is displayed.
InSite and OutSite use a maximum size. We compress images that are larger. By clicking Use original image, you can open the original image.
- Click on: the X in the upper right corner.
See also
|
Directly to |