

Authorisation for e-mailing reports
You authorise the menu options and actions required for e-mailing reports.
Configure authorisation:
- Go to: General / Management / Authorisation tool.
- Go to the tab: Group maintenance.
- Select the group to authorise.
- Go to the tab: Menu.
- Select the check box for the menu options to be authorised:
- General / Environment / Management / Properties.
- General / Management / Message / Message template
- General / Configuration / Integration settings / Sales contact profile
- General / Configuration / Integration settings / Purchase contact profile
- Financial / Management / Settings
- Go to the tab: Authorisation.
- Go to: General / Environment / Management / Properties.
- Authorise the tab: E-mail.
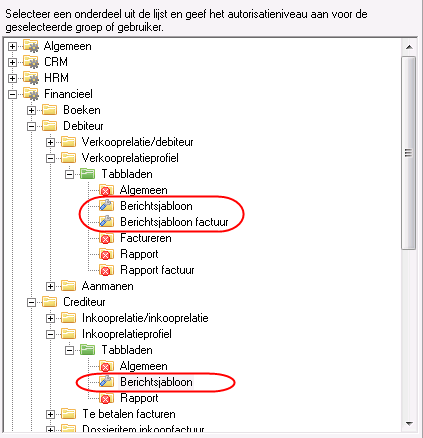
- Go to: Financial / Debtor / Sales contact profile.
- Authorise the tabs: Message template and Invoice message template.
- Go to: Financial / Creditor / Purchase contact profile.
- Authorise the tab: Message template.
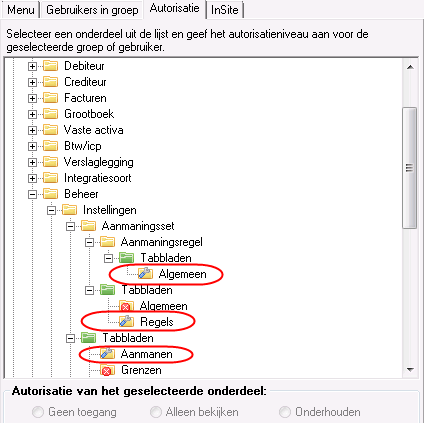
- Go to: Financial / Management / Settings / Reminder set.
- Authorise the tabs:
- Close the Authorisation tool.
- Click on Yes in the message.
De omgeving opent automatisch opnieuw, met de nieuwe instellingen.
See also