

Configure entry layout header and footer
The header and footer of an entry contain general data. When posting entries, first you complete the header, then the entry lines and then the footer.
The header in an entry layout is not mandatory; some entry layouts do not have a header. Maintain the header and the footer of an entry layout in the same way. The header and footer can each contain multiple tabs. You can insert both fields and images in a tab.
Add tab:
- Go to: General / Management / Entry layout.
- Open the entry layout.
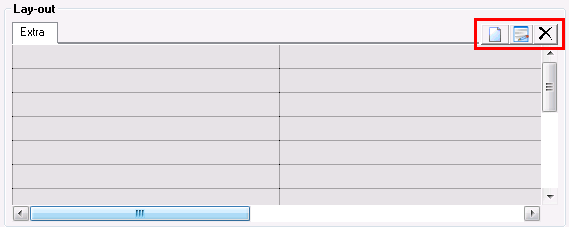
- Go to the tab: Header.
- Click on:
 .
.
- Enter the description.
- Click on: OK.
- You now have the following options:
Change tab name:

Delete tab:

- Add field to a tab:
- Drag the field from the field list onto the tab.
- Double-click on the field in the field list.
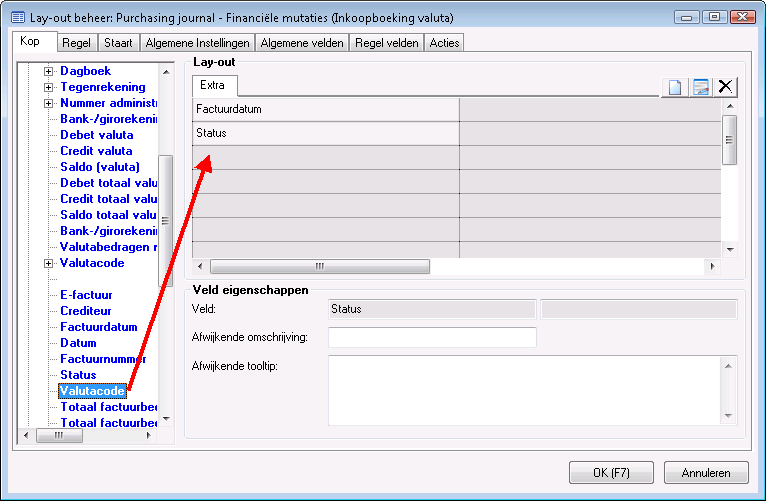
Change field properties:
- Go to the tab:.
- Select a field.
- If necessary enter any deviating field description. This is used in the entry layout instead of the default description.
- If necessary enter any deviating tooltip.
You enter a tooltip that applies to the organisation. When posting entries, the user can view the tooltip using F12 (not in AFAS Online).
Delete fields from a tab in the header or footer:
- Select the field in the tab.
- Press: Delete.
Move fields on a tab in the header or footer:
- Select the field in the tab.
- Use the mouse to drag the field to the correct location.