

Configure preferred values in entry layouts
You can specify preferred values for both general fields and line fields. The preferred values appear automatically during the entry process. The settings that are available depends on the type of field. The settings for a description, for example, are different to a check box.
Record preferred value:
- Select the field where you want to specify a preferred value.
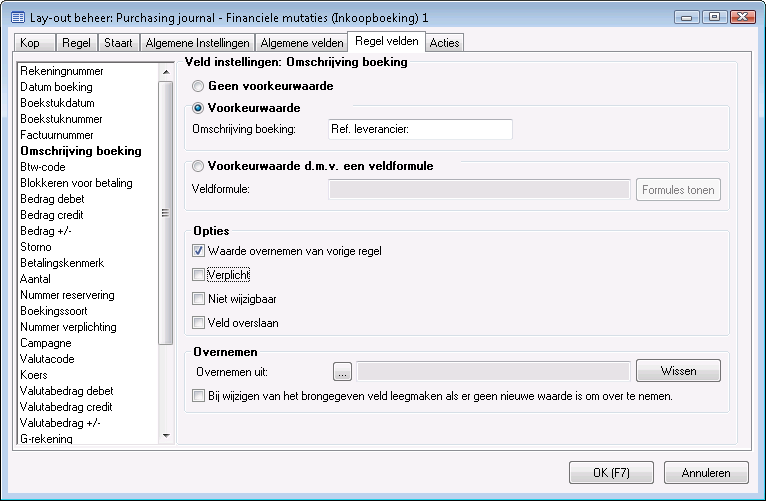
- Specify how the preferred value is determined:
- No preferred value
The field is empty during entry. The user enters their own value.
- Preferred value
This value appears in the field during entry.
- Preferred value by means of a field formula
Determine the preferred value based on a formula. This allows you to include a date, employee or user in the value, among other things. Click on Show formulas to view these formulas.
For example: [Week start + 1 day + 1 year]
- No preferred value
- Determine how the field works using the options. With Skip field, Profit will skip the field when the user completes the entry, but the user can still go back and complete the field.
- If the field value must be copied from another field, select that field in Copy from:.
For example: You copy the description of the ledger account to the description of an entry.
- When changing the source data, clear field if there is no new value to be copied.
Select this check box if a subsequent change in the source field should not propagate to the field where the source field has been copied.