

Add images to entry layout header
You can add multiple images to the header of an entry layout. You cannot do this in every entry layout.
Note:
Per tab in the header of the entry layout, you can show a maximum of two images. If you want to display more images, for the side, front and rear view of an assembled item for example, you need to add extra tabs.
If you have used the entry layout to set multiple images for the article or assembled item, you an also use these images in reports, etc., for example in a master card.
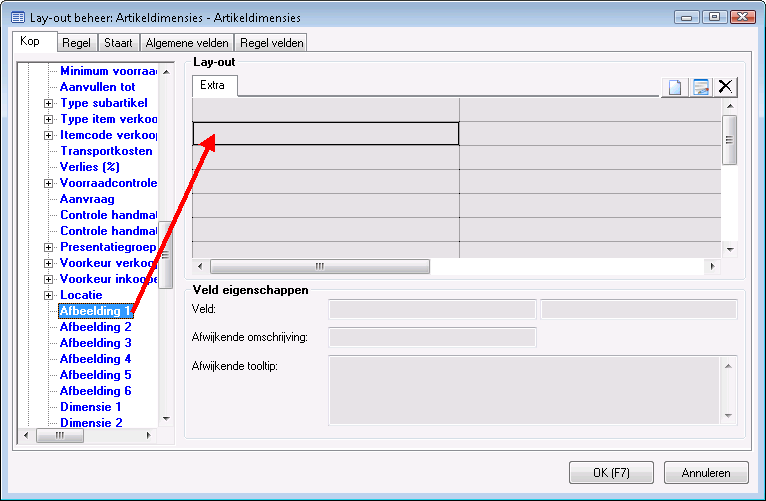
Add multiple images to the header of the entry layout:
- Go to: General / Management / Entry layout.
- Open the entry layout.
- Go to the tab: Header.
- If no tabs are present, first add them.

- Drag the image fields onto the tab.
- If you want to insert more than two image fields, add a new tab first. Position the fields on the new tab.
- You can select an image in the image fields while making an entry.