

Actual costing custom field on project invoice
You can add custom fields to the entry layouts of the actual costing, draft invoice and project invoice. Use the Management Tool to add the custom fields. You can also add these fields to the reports for the invoices.
You can also include a custom field for project entries.
To add custom fields and display them on the invoice from the actual costing:
Note:
You have to create custom fields at multiple levels. The custom field should have identical settings on every level.
- Go to: General / Management / Management tool.
- Open the properties of the Actual costing function group.
- Click on Yes in the message.
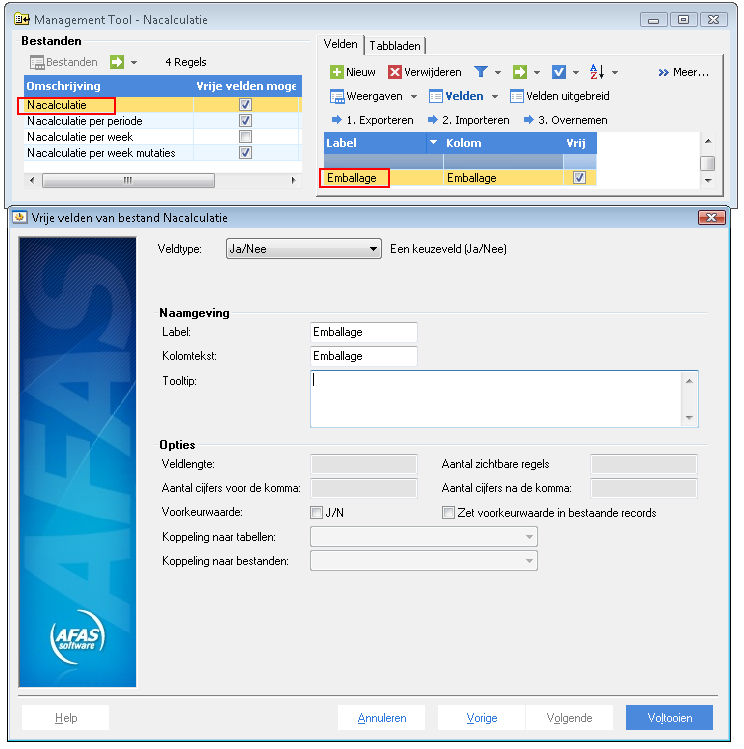
- Select the Actual costing file in the menu on the left.
- Go to the tab: Fields, in the menu on the right.
- Click on: New.
- Complete the fields.:
- Close the open windows.
- Open the environment to implement the changes.
Note:
Remember the field settings. You will need them in the next steps!
- Go to: General / Management / Management tool.
- Double-click on the Project invoice function group.
- Click on Yes in the message.
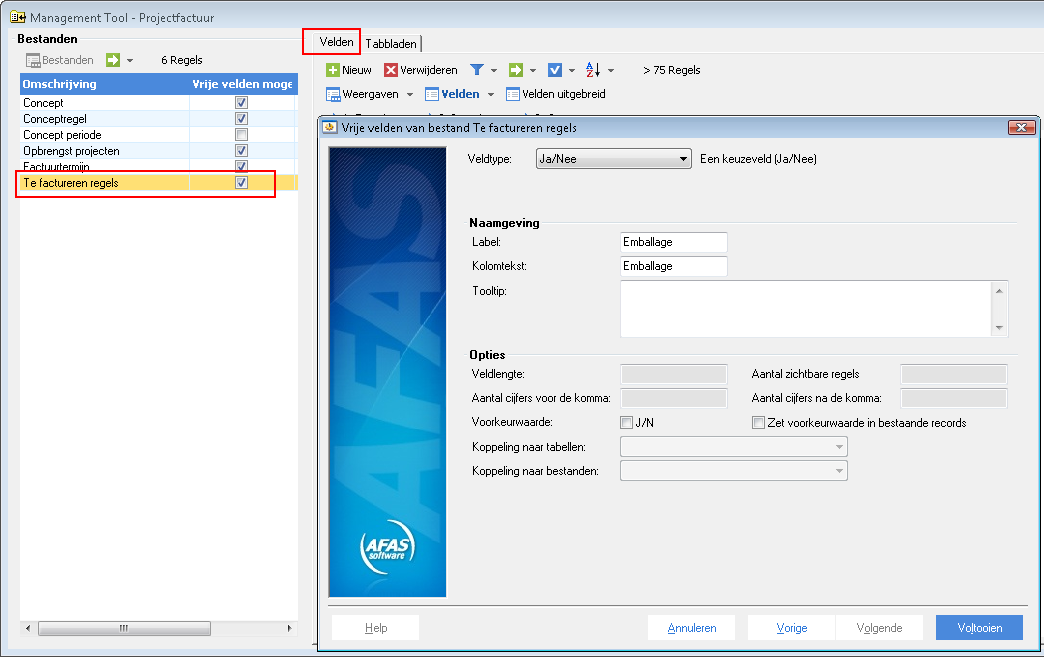
- Select the Lines to be invoiced file in the menu on the left.
- Go to the tab: Fields, in the menu on the right.
- Click on: New.
- Complete the fields. (using the same settings as for Actual costing):
- Close the open windows.
- Open the environment to implement the changes.
To add a custom field to sales order lines:
- Go to: General / Management / Management tool.
- Double-click on the Sales process function group.
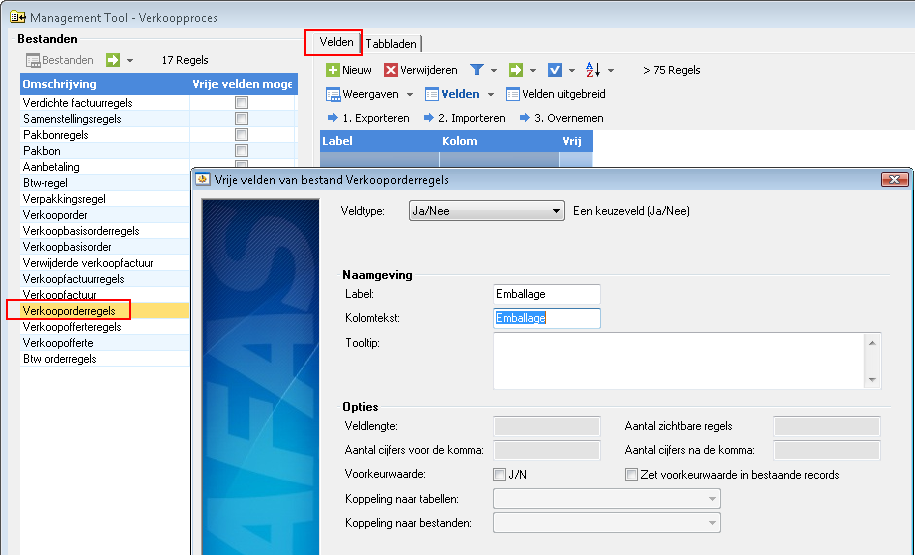
- Select the Sales order lines file in the menu on the left.
- Go to the tab: Fields, in the menu on the right.
- Click on: New.
- Complete the fields. (using the same settings as for Actual costing):
- Close the open windows.
- Open the environment to implement the changes.
The custom field has been created on all required levels. We now have to include the field both in the entry layout for entering the actual costing and on the invoice report.
To include a custom field in the entry layout:
- Go to: General / Management / Entry layout.
- Open the properties of your own entry layout for entering Actual costing per line (or Actual costing per week or Actual costing per period).
Note:
If you do not yet have your own entry layout, you have to create it now.
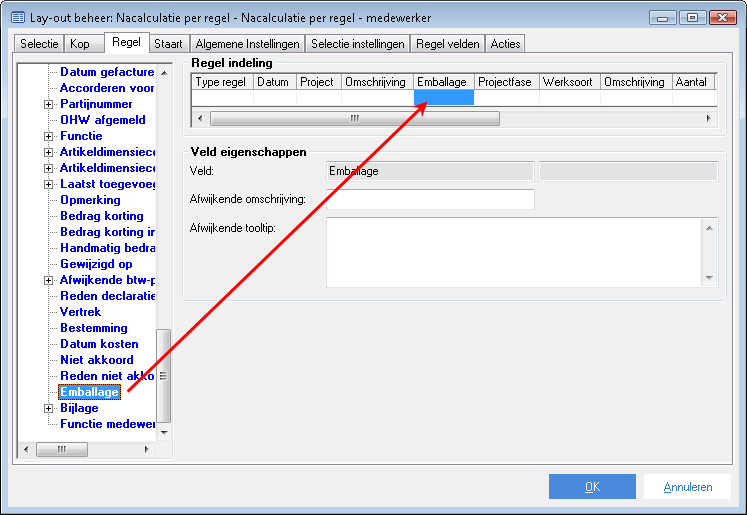
- Go to the tab: Line.
- Click on: the + in front of the Line fields.
- Drag the Packaging field to the sample line under Line layout.
- Click on: OK. to save the changes.
To include a custom field in an invoice report:
- Go to: Projects / Output / Management / Report.
- Open the properties of your own invoice report.
Note:
If you do not yet have your own invoice report, you have to create it now.
- Click on the Modify button in the bottom left of the screen.
- Select the Show all available links check box.
- Click on: the + in front of Sales invoice lines.
- Add the custom field to the list of fields in the view.
- Click on: Next.
- Follow the instructions given by the wizard.
- Place the custom field in a random location under the detail section.
Custom field in draft:
The method described above does not apply to draft invoicing. If you want to link a custom field to the draft invoicing, perform the following steps:
- Go to: General / Management / Management tool.
- Double-click on the Hours/declaration (Profit) function group.
- Click on Yes in the message.
- Select the Draft line file in the menu on the left.
- General / Management / Authorisation tool
- Click on: New.
- Complete the fields. (using the same settings as for Actual costing):
- Close the open windows.
- Open the environment to implement the changes.
To adjust the draft invoice entry layout:
- Go to: Projects / Output / Management / Report.
- Open the properties of your own draft invoice.
Note:
If you do not yet have your own invoice report, you have to create it now.
- Click on the Modify button in the bottom left of the screen.
- Select the Show all available links check box.
- Click on: the + in front of Invoice line.
- Add the custom field to the list of fields in the view.
- Click on: Next.
- Follow the instructions given by the wizard.
- Place the custom field in a random location under the detail section.