

Modify the view layout
You can change the layout of views to suit your personal preferences, so they best match your work method. You can move, hide, or adjust the width of columns or apply bold or colour.
Note:
This section describes the modifications that are available to every user. The Profit administrator has more options for optimising the views, such as adding a view with different columns or a built-in filter.
|
Contents |
Video
Set the line height
By default Profit opens a view with a line height of 1. You can increase the line height if you want more white space in the view (for clarity) or if descriptions are too long for the cells in the view.
To set the line height:
- Open the view:.
- Click in the view bar (Ctrl+Shift+W) and click on Line height.
- Click on: the line height.
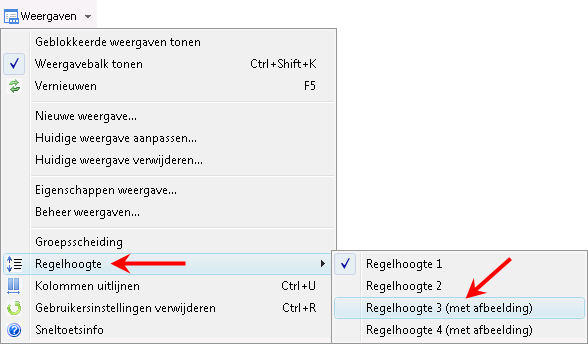
Profit immediately adjusts the view:
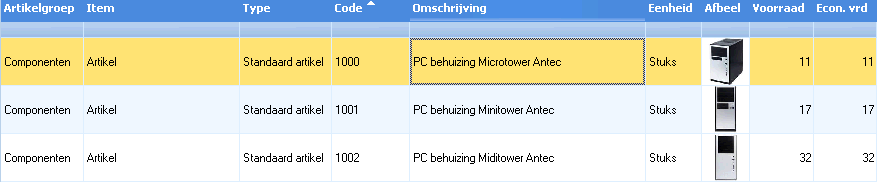
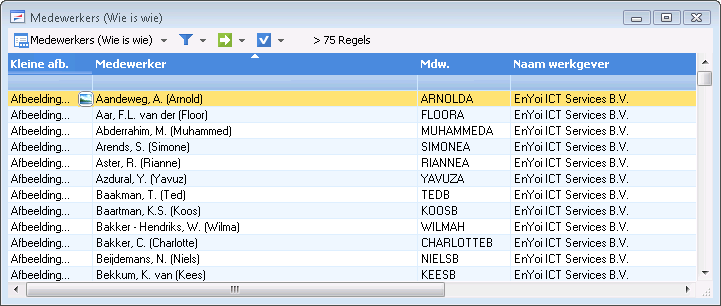
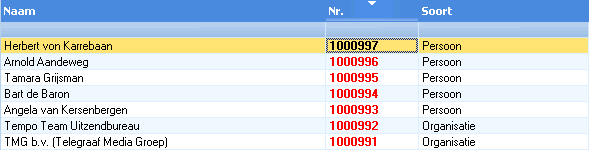
Line height for views with images:
Views in Profit can contain images. With a default line height, these images are not displayed. With a higher line height Profit displays these images directly in the view.
- Open a view with images.
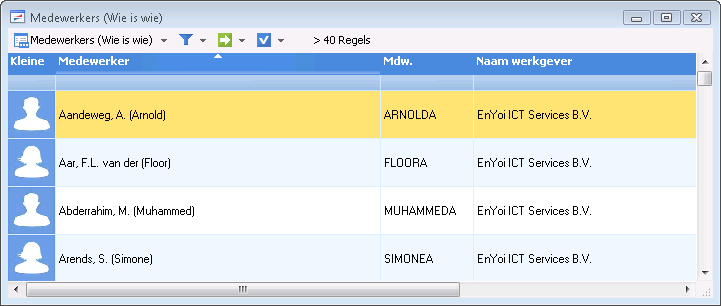
- Change the line height to 3 or 4.
- Notice that the images are now visible in the view.
The view retains the last specified line height.
Adjust/align the column width
You can change the width of the columns. You can also align all the columns so that they all fit across your screen.
Adjust the column width:
- Align manually
Position the mouse on the black line between two columns:
 .
.Press and hold the left mouse button and drag the column separator to the left or right.
- Automatically align one column
Double-click on the black line between two columns to automatically align a column. Profit will make sure that all descriptions in the column in question are displayed in full.
- Align all columns
Right-click in the view and go to Views / Align columns (Ctrl+U).
If you press Ctrl+U once, Profit will adjust the column width so that all columns are wide enough to display the full descriptions. This can make the view very wide. Press Ctrl+U again to reduce the width of the columns again so they all fit in the window.
Freeze columns
A view can contain more columns than can fit across your screen. So it may be useful to freeze some columns. The frozen columns are always visible on your screen, even if you move the horizontal scroll bar to the far right.
To freeze columns:
- Open the view:.
- Right-click on the column header you want to freeze.
- Click on: Freeze.
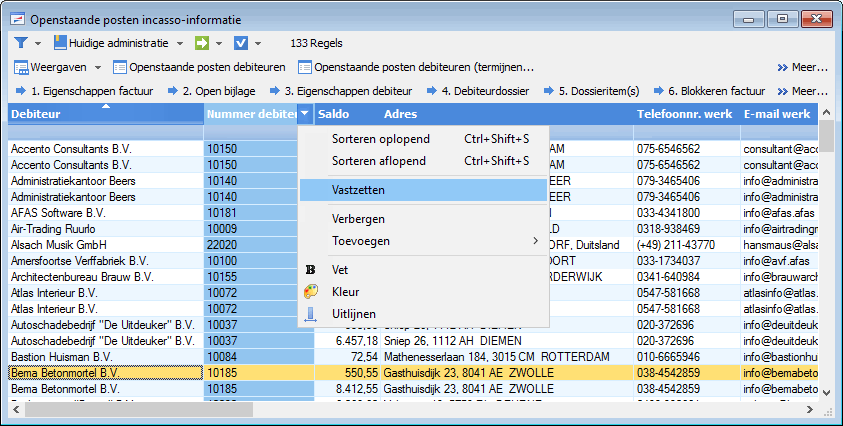
A black line will appear as a separator between the frozen columns and the other columns.
Undo freeze:
- Right-click on a column header.
- Click on: Undo freeze .
Hide and move columns
You can improve the overview by moving or hiding columns you are not interested in. This creates more room for the important columns.
To hide columns:
- Open the view:.
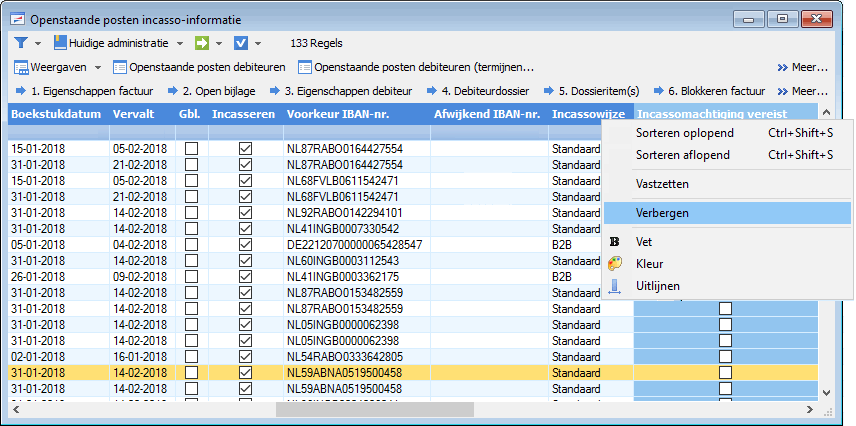
- Right-click on a column header.
- Click on: Hide.
Undo hide:
- Right-click on a column header.
- Click on: Add.
- Select the column you want to add.
To move columns:
- Open the view:.
- Place the mouse pointer on a column header.
- Drag the column header to the left or right.
Display a column in bold or in a different colour
To increase the readability of a view, display the important columns in bold or in a colour.
To display a column in bold:
- Open the view:.
- Right-click on a column header.
- Click on: Bold.
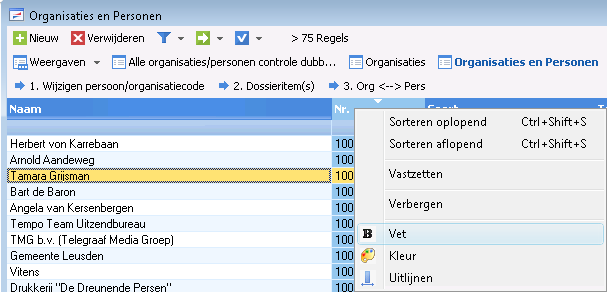
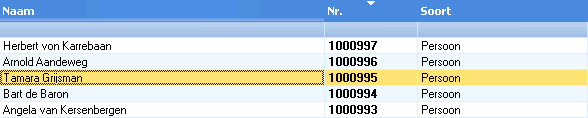
Profit displays the column with the new formatting.
To undo formatting:
- Right-click on a column header.
- Click on:Bold.
To display a column in a colour:
- Open the view:.
- Right-click on a column header.
- Click on: Colour.
- Click on: the colour.
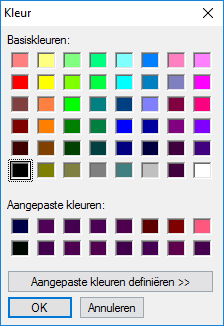
- Click on: OK.
Profit displays the column with the new formatting.
To undo formatting:
- Right-click on a column header.
- Click on: Colour.
- Click on: black
- Click on: OK.
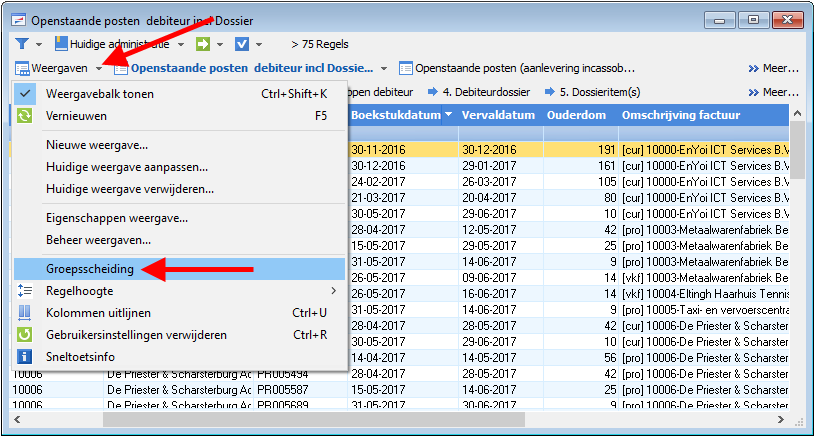
Group separation
You can group data that belongs together, for example group relations by city or employees by employer.
To create a group separation:
- Open the view:.
- Double-click on the column header you want to apply the group separation to, to sort it.
- Right-click on the column header you want to apply the group separation to.
- Click on: View / Group separation.
Undo formatting
You can undo your personal formatting per column, or you can revert to the default view with just one action.
Undo formatting:
- Go to: Views / Delete user settings (Ctrl+R).
Select multiple data
You can carry out some actions with a selection of lines, for example you can send the same e-mail message to a few specific customers. Select the lines and perform the operation.
To select data:
- Open the view:.
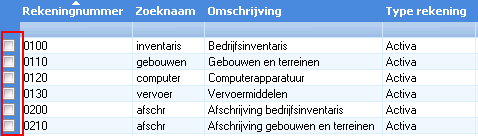
- Go to: Select lines (Ctrl+S).
Before the lines. a column with selection check boxes appears.
- Select the check boxes for a couple of lines. You can select the check boxes using the mouse or by pressing the spacebar once.
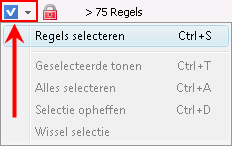
- Go to the view options again (or right-click above the selection column).
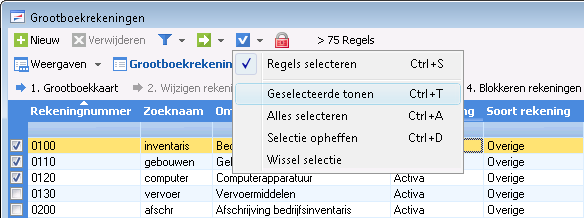
- In this case you have the following options:
- Show selected
Profit only shows the lines with the selected check boxes.
- Select all
Select all the lines in the view. You use this option, for example if you want to select nearly every line, so you only have to deselect the lines that you do not want to show in the view.
- Deselect
Profit deselects the check boxes for all lines.
- Change selection
You invert the selection. Profit deselects all selected lines and instead selects the deselected lines.
- Show selected
Display or hide blocked data
If you no longer use specific data then you can block it. Deleting data is often not possible because data is linked to other (historical) data. Furthermore, you can no longer view deleted data in Profit while this is not so for blocked data.
By default, Profit does not display blocked data in the views. You can use a button to ensure that Profit shows the blocked data anyway.
There is always the option to delete data you do not want, but this can only be done with data that is not linked to other data. For example: you cannot delete an article group if it still has links to articles. Another advantage of blocking over deleting is that you can still view the blocked data in Profit.
Note:
Whether the blocked data is displayed or hidden depends on the view. Blocked data can generally only be retrieved in views that include the Blocked column.
Note:
You cannot completely block sales contacts in Profit Order management. A sales contact must always be visible for the financial settlement. The check box for blocking only applies to orders, packing slips and invoices.
Display or hide blocked data:
- Go to: CRM / Organisation/person / Contact.
- Open the view:.
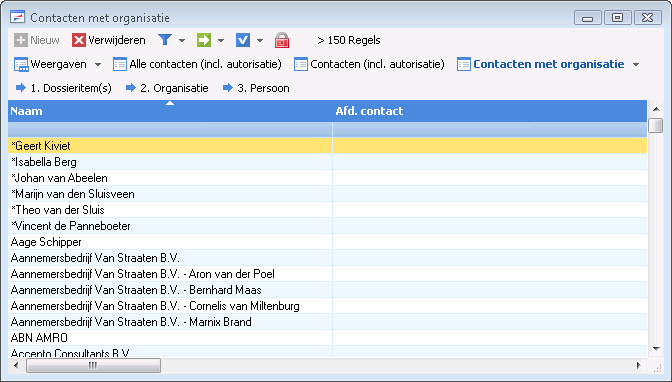
- Drag the Gbl. column to the left so that it is the first column in the view.
Without the blocked data, the view is as follows:
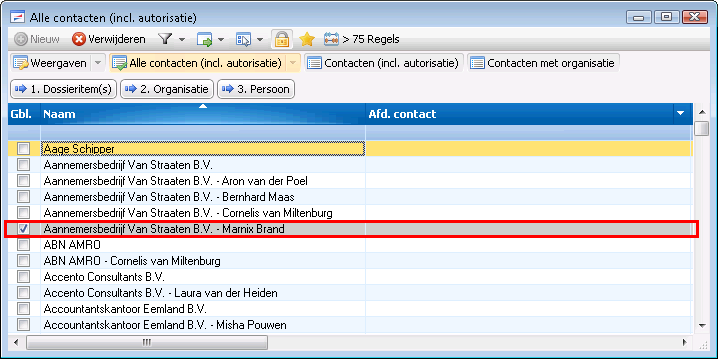
- Click on:
 (Ctrl+Shift+B).
The view also displays blocked data. This data has a grey background.
- Click on:
 (Ctrl+Shift+B).
The view does not contain any blocked data.
|
Directly to |