

Display a view
A view is a table with data, such as employees, debtors, invoice lines or organisations.
|
Contents |
Select a view
Many functions contain multiple views, such as advanced views (with many columns) or limited views. A default filter is applied to certain views, for example in the Organisations view (this contains organisations but not persons).
Select a view:
This example is an illustration of how to use views.
- Go to: CRM / Organisation/person / Organisation/person.
- Open the view: Persons.
You see a short list of persons.
Open the view:Organisations and Persons.
Note:
Authorisation may apply to the data in a view: Profit only displays data that you are allowed to see based on your authorisation which is linked to your logon name. As a result, you may see more or fewer lines than other users.
At the top of the view, the number of lines is displayed:
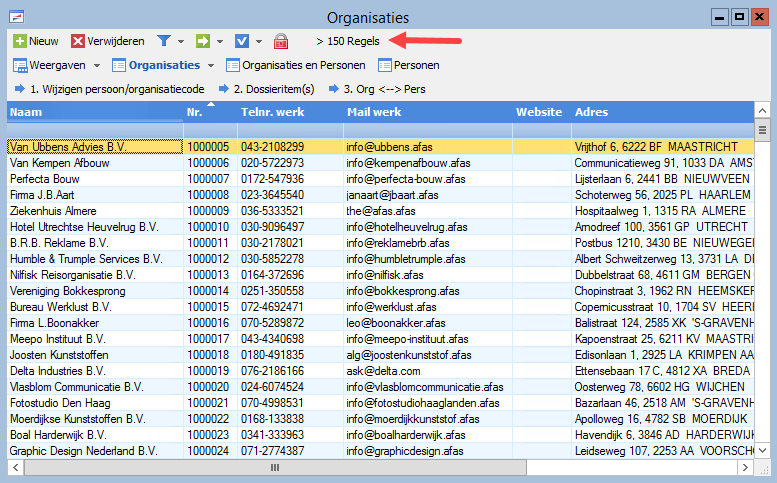
By default, Profit only shows the first 75 lines because this improves performance. If there are more than 75 lines, the ‘greater than’ sign is shown. Click on this indication to display the total number of lines (without the ‘greater than’ sign).

Go to...
You can navigate using the arrow keys, or you can jump directly to a specific line. Usually you will know the names of contacts, articles, ledger accounts by heart.
Go to...:
- Open the view: Organisations and Persons (in the Views toolbar).
- If necessary, sort the column by double-clicking on the column header.
- Click in the field below the column header.
- Press: Ctrl+G.

- Enter the first characters of the name or code.
- Press: Enter.
- Profit displays the first line that matches your search, at the top of the view.
Example:
You want to move quickly to your TNT contact.
Sort the Name column alphabetically by double-clicking on the column header. Then press Ctrl+G and enter the value 'T'.
Print a view
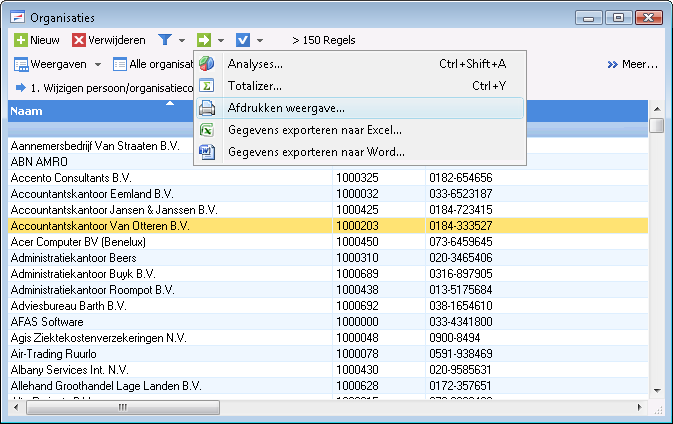
You can print a view by selecting the following option.
Print a view:
- Make sure that the view has the correct layout:
- Place the columns in the correct order.
- Hide or add columns (you cannot add columns to default views).
- Apply a filter.
- Apply the desired formatting (e.g. column height or colour).
- Print the view.
Display the Favourites view
Profit automatically inserts the lines (data) that were last used in the Favourites view. This is a separate part of the view that can be easily displayed. You can also add your own data to the Favourites view. The Favourites view is not always available.
The quick filter is not available in the Favourites view. Also, you can't customize this view.
Use the Favourites view:
- Open the view:.
- Click on:
 (Ctrl+I).
Profit shows the Favourites toolbar at the bottom of the view.
- Move the mouse over the Favourites toolbar.
Profit shows the Favourites view:
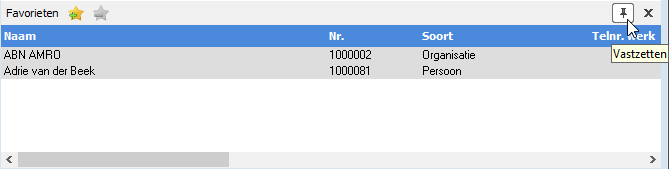
The last-opened line is at the top.
Pin or unpin a view:
- Click on the pin
 to fix the view. The Favourites view can now be seen all the time.
 - Click on the pin
 to unlink the view. Profit only shows the view when you hover over it.
Add a favourite manually:
- Select a line.
- Click on:
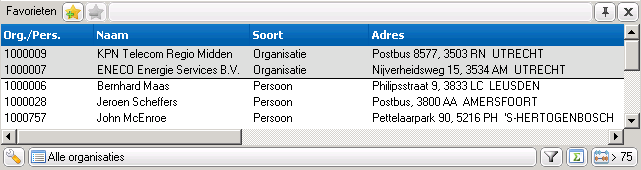
 .
.The lines added manually are dark grey, to distinguish them from the 'regular' favourites.
Delete a favourite:
- Select the line.
- Click on:
 .
.This way only the favourite is deleted. The line itself is saved and can be retrieved from the view.
Display a view with administration sets
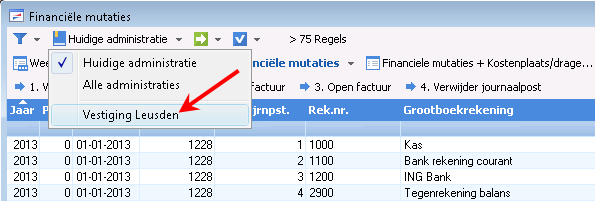
By default the view in Profit displays the data of the current (active) administration. However, it may be useful to retrieve data from multiple administrations, for example, in the Financial changes view. This makes it easier for you to compare and use data from different administrations, in the Totalizer for example.
By default you can select the data from the current administration, or from all administrations. Use administration sets if you want to retrieve data from part of the administrations.
Before proceeding further, select administration 1 (F11).
To filter by administration or administration set:
- Open the view:.
- Select Current administration or All administrations. If there are administration sets, you can also select these.
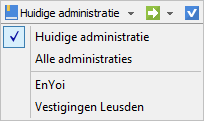
If you are not authorized for any of the administrations of an administration set, then the administration set is not displayed.
|
Directly to |