

Add a profile
You add a profile to set certain functionality for a group of employees. You add a profile in Profit Windows.
To add a profile:
- Go to: General / In & OutSite / Profile.
You see all existing profiles.
- Click on: New.
- Enter the description.
- Select a value for Type.
The type determines the options the profile provides (for example, the settings you can record). The type also determines when the profile can be used in InSite.
- Select the type of the profile.
- If necessary, select a profile to base this new profile on.
If you select a basic profile, the settings (such as the fields) of the basic profile are copied. Of course, you can still modify these settings.
- Click on: Next.
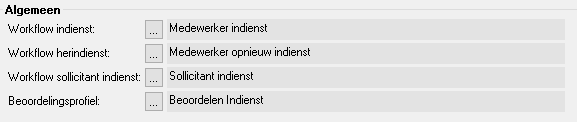
- In Workflow, select the workflow you want to link this profile to.
- In Review profile, select the profile for reviewing.
- Select check boxes for additional data you want to change in the profile if you want to apply combined SCORF entries.
- Click on: Finish.
- Open the properties of the profile.
- Go to the tab: General.
- Select the agencies to be added.
You must first add the agencies, otherwise you cannot select the agency.
- Go to the tab: Context.
- Select the context for the functionality.
- Click on: OK.
- Go to the tab: Context instantie.
If you selected agencies on the General tab, you can add context to these agencies on this tab.
- Go to the tab: Document.
- Click on: New.
- Select the document.
Depending on the profile, you select a document that is based on the correct basis.
- Enter the description of the action button.
- Enter a description for the dossier item.
Profit displays this description alongside the dossier item in the employee's dossier.
- Select the dossier item type.
You can only select a dossier item type that is configured for InSite.
- If applicable, select a feature group.
- Click on: Finish.
To make sure you can manually generate the document in the workflow, you change the workflow.
- Select the document.
- Click on: OK.