

Report an employee's start of employment in InSite
You can add employees and report the start of their employment in InSite.
The reporting of the employment of an employee often takes a lot of time because you need to record many things and you often need to look up the data applying to the contract. If you use profiles this is a thing of the past. The profile contains the field values that you have specified and the settings for these fields such as whether a field should be displayed or not. This means you only need to fill in the missing data and thus reporting the employment of somebody takes much less time.
The site manager can add the Google route plug-in to this page which provides you with a simple way of calculating the home-to-work distance.
Reporting the start of an employee's employment starts with the selection of a profile. This causes various data to be entered automatically. Only complete any missing data.
Example:
The employer employs full-time employees, part-time employees for 90% and casual staff. To report the start of employment for these employees, you use profiles.
- The profile for a full-time employee contains a 100% timetable.
- The profile for part-time employees does not contain a default timetable. You must select the correct timetable yourself.
- The profile of casual staff contains a zero-hour timetable by default. You cannot change this.
To report an employee's start of employment:
- Open InSite.
InSite may have been configured differently for you, in which case the description of the action deviates.
- Click on: the profile.
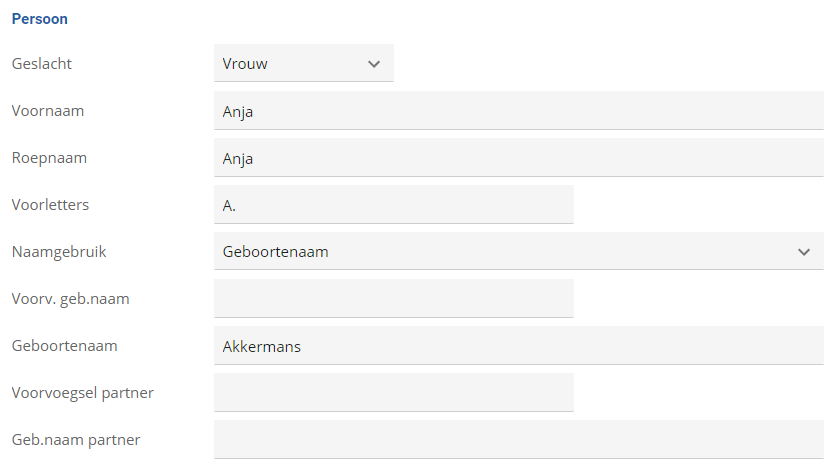
- Enter the name and address data of the employee.
Mandatory fields are indicated with a *.
- Enter the communication data.
- Enter the personal details.
The social security number ('BSN') is mandatory. In InSite, a check is performed on the name, the date of birth and the BSN. This prevents you from recording an employee twice. This means that you cannot record the following employees in InSite: anonymous employees, employees who have reached the 'AOW' age and continue to work, trainees who become fixed salary employees, employees with the white and green table.
- Enter the bank details.
- Click on: Next.
- Enter the contract data:
- Enter the Contract start date.
- Complete the remaining fields. Choosing the correct CLA/term of employment and employer is very important here.
The Reason employed is used in the 'GMA' file for 'PGGM'.
Note:
Profit only processes the wages of
 employees of the types Member of staff, Entrepeneur - with salary, and Placement - with salary. As a consequence, these employees are automatically included in the Wage declaration.
 - Enter the start date of the contract chain for the Wet Werk en Zekerheid in Contract chain start date.
In the case of a fixed-term contract Profit copies the start date of the contract.
View the Help about the Wet Werk en Zekerheid for more information on recording a contract chain.
- Select the chain number, if applicable.
In the case of a fixed-term contract the field is mandatory.
- Select the Organisational unit and the Job of the employee.
You can only choose jobs that are available at the employer.
If you select a position, Profit automatically copies the associated job and organisational unit. Profit also copies the cost centre and cost unit, if cost centres and units are used.
- Record the timetable. You have the following options:
- Select the default timetable (from the CLA/term of employment).
- If an employee does not have fixed working hours, select the Variable work pattern check box. Enter the number of hours and days per week. If possible, also select the check boxes for the working days. In the case of a zero hours contract you enter 0 hours and 0 days.
- In case of a work timetable, select the Variable work pattern and Variable pattern in work timetable check boxes. Always enter the number of hours per week. Next select the required timetable cycle and the required start week.
- Under the Education activation, you specify the weekly timetable based on a number of FTEs. To record a weekly timetable based on the number of FTEs, link the education CLA to the profile for reporting the start of employment.
- Select the Salary type; this determines which fields you need to complete for this step.
- If you previously selected Hourly wage or Fixed salary, specify a value for the Salary field. For a salary scale, you perform the following steps:
- Specify the Wage scale type and Wage scale. You can only select data that corresponds with the selected Period table. Furthermore, the CLA type of the wage scale must match the CLA type of the employee's CLA.
- Select the step in the wage scale.
- The step depends on the age the relevant employee has reached on the start date of this salary line (that is, not the age reached on the current date). If, because of his age, the employee still falls in an age step, then only this step is displayed. If an employee falls outside the age steps, the service year steps appear.
- If you cannot select the step, make sure that the steps have been added to the selected wage scale. Also check the validity period of the wage scale.
- If required, set an allowance. If you want to record a percentage, select the Allowance % check box. If not, record an amount.
In the case of full-time and part-time workers, select Scale salary or Fixed salary. For other employment types select Scale hourly wage or Hourly wage.
For a fixed salary, Profit automatically calculates the 'BT' annual wage for the taxation of wage components at a special rate in Profit Payroll.
- Click on: Next.
- Enter the agency details.
You cannot select the agencies that are not available at the employer level. You first need to add the agencies to the employer. Agencies that are relevant for all employees, such as the tax authority, are automatically included by Profit. You cannot undo this selection.
If an agency has an end date at the employer level, then after the end date you cannot select this agency at the employee level any more. However, if you still want to add the agency, you can specify the required code manually.
If applicable, you can enter a pension number. You do not enter a pension number for the pension data delivery of 'APG' and 'PGGM'. For the ‘APG’ and ‘PGGM’ pension agencies, Profit automatically determines the pension number in the External identification number field in the Employment tab in the properties of the contract.
- Click on: Add.
If you have not yet configured any users for reviewing, you cannot complete the addition of the new employee. In this case, Profit does already create the employee. After the addition of a user for reviewing, you report the employee as re-employed.
See also