

Add an overlay to a page
An overlay is a pop-up which is displayed when you open a page. The overlay itself is also a page. You use an overlay if you want to direct attention to something, for example a new phone number, a promoted product, a temporary action, etc.
The overlay page is always linked to a 'mother page'. If the user opens the mother page, the mother page is displayed overlaid with the overlay page. The advantage of this is that navigation on the site is not significantly affected: if the user closes the overlay, he or she again returns to the mother page.
If a user closes the overlay page, it no longer comes to the foreground. Because of the use of cookies, the overlay will no longer appear as long as the user continues to use the same system. If the user starts using another system, logs on using a different name (in Windows) or deletes the cookies, the overlay will once again appear.
Add an overlay page:
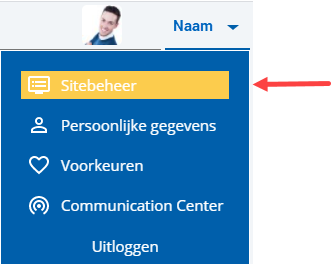
 Log on and start Site management.
- Click on: New / Portal page.
- Select a value for Page type.
- Enter the description.
- Click on: Next.
- If required, add keywords that increase the discoverability of the page.
- Click on: Next.
- Select the Use this page as overlay check box.
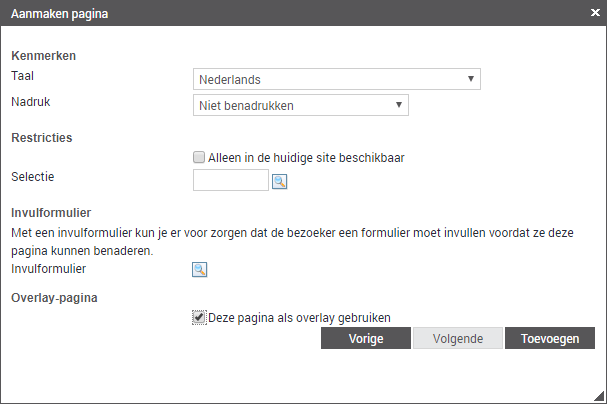
- Click on: Add.
Edit an overlay page:
- Click on: Properties.
- Select Maximum width in Layout.
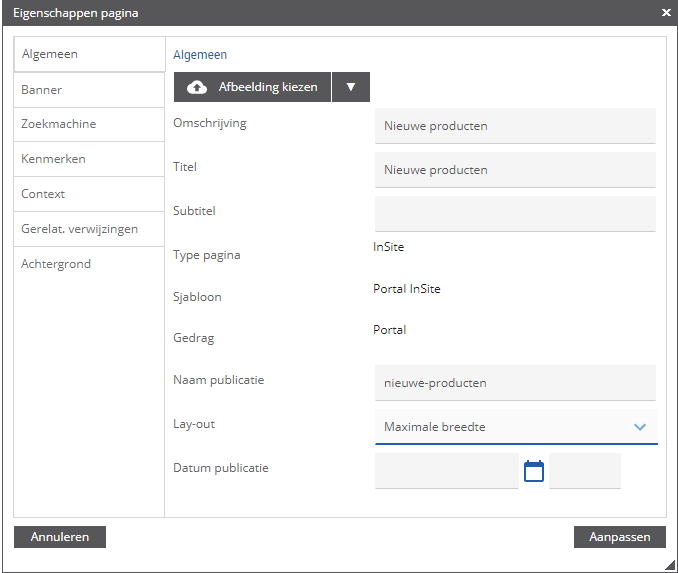
Since an overlay page does not contain a menu, it is best to set the layout to maximum width so that the layout appears nicely positioned across the middle of the site. If you select full screen then you cannot specify where the page appears.
- Click on: Modify.
To format the page:
You can format the overlay page so it looks exactly like you want to display it. In the below procedure, you use a table that spans the entire width, which is an easy way to use a background colour.
- Click on: Layout in the Display frame.
- Click on: New / Formatted text.
- Click on: Contents.
- Add a table (using the CMS editor):

- Specify that you want the table to have 1 row and 1 column.
- Select a value for Background colour table.
This is not mandatory. If you add a background colour, the overlay page no longer catches the eye.
- Click on: Modify.
- To adjust cell properties:
- Right click with the mouse in the table.
- Click on: CEL / Celeigenschappen.
- Set the height of the cell to (for example) 300.
- Select Top in Verticale uitlijning.
- Click on: Modify.
You can now add text and images to the cell.
To add a Close button:
If you want to display a close button in the image then you add an image specially for closing the overlay page. Without this image, the close button remains in the scroll bar of the site.
- Click on: Edit (in the Page frame).
- Click on: Layout in the Display frame.
- Click on: New in the Page parts frame.
- Click on: Image.
- Click on: Add image.
- Select an image of a close button.
- Click on: Create.
- Select the Close overlay page check box.
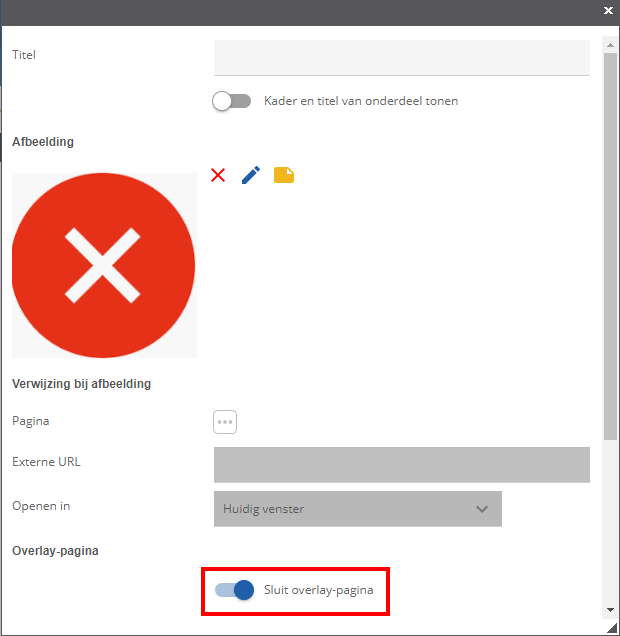
- Click on: Create.
- Open the properties of the image.
- Select Align right in Horizontal alignment.
- Click on: Adjust.
- Click on: Contents.
- Click in the Text with formatting field to open the CMS Editor.
- First add the text.
- Then, use the CMS Editor to add an image:
- Click on: Create.
- Move the close button so that it is above the content text.
- Click on: Publish.
- Click on Yes in the message.
To add an overlay to a page:
- Log on and start Site management.
- Open the page whose properties you want to change.
- Click on: Edit (in the Page frame).
- Click on: Properties.
- Select a value for Overlay page.
You can use the search button to open the view with pages.
- As from Profit Update 2016.2.06 you can have an overlay page appear after a couple of seconds. You can use this option, for example if a user visits a page for more than 10 seconds. After 10 seconds you can display a question like: "Do you need help?" or "Need more information? Call our Sales department", etc. If the user leaves the main page within 10 seconds, the overlay is not shown.
- Click on: Publish.
- Click on Yes in the message.
- You still have to authorise the users for the overlay page.